

Application Tips and Samples
How to Apply Product Labels Properly
Your new labels have arrived, your products are ready to go, and now there’s just one job left: getting those labels on straight, smooth and securely.
It sounds simple, but how you apply your labels can make a big difference to the finished result. A surface that isn’t properly cleaned, trapped air bubbles or repeatedly peeling a label back to reposition it can all affect how well your label looks and sticks.
At LabEX, you want your labels to look just as good on your products as they did when you designed them. That’s why a little preparation goes a long way.
In this guide, you’ll learn how to prepare your surface, position and apply your labels correctly, avoid common application mistakes and give the adhesive enough time to properly bond.
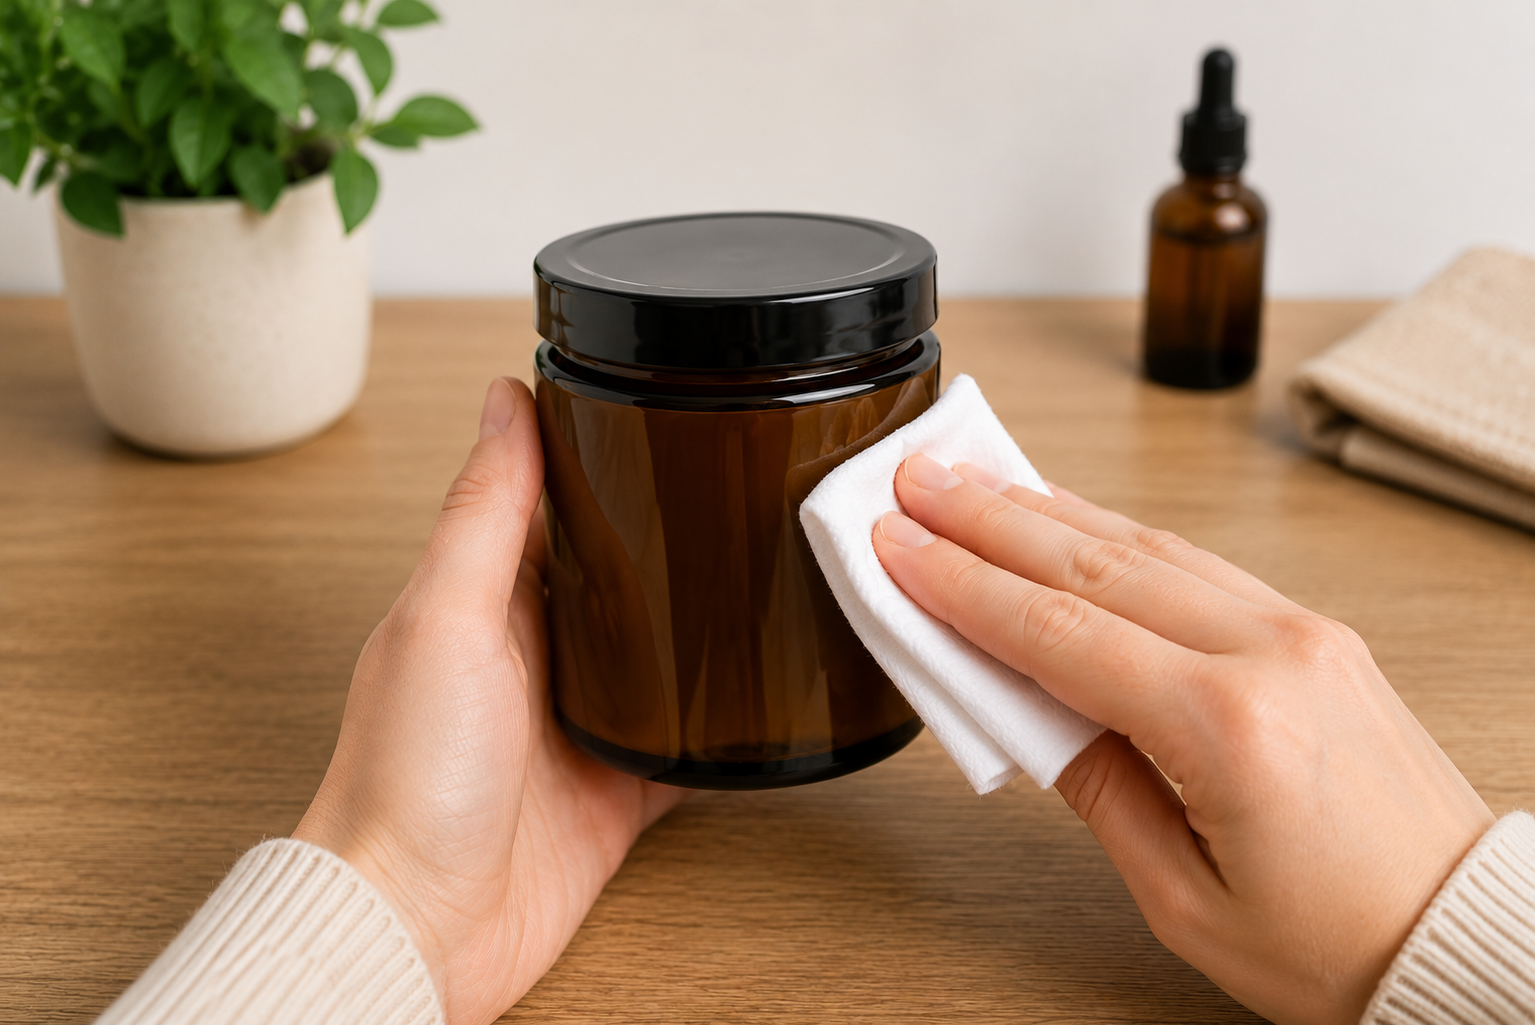
Step 1: Make Sure Your Surface Is Clean and Dry
A clean surface is key to helping your labels stick properly.
For paper, cardboard or other slightly rough surfaces, simply remove any dust or loose particles before applying your label.
For smoother surfaces, such as glass bottles or aluminium cans, make sure they're clean and free from any oil or residue. Allow the surface to dry completely before applying your label. Even a little moisture can affect how well it sticks.
Step 2: Position Your Label Before Sticking It Down
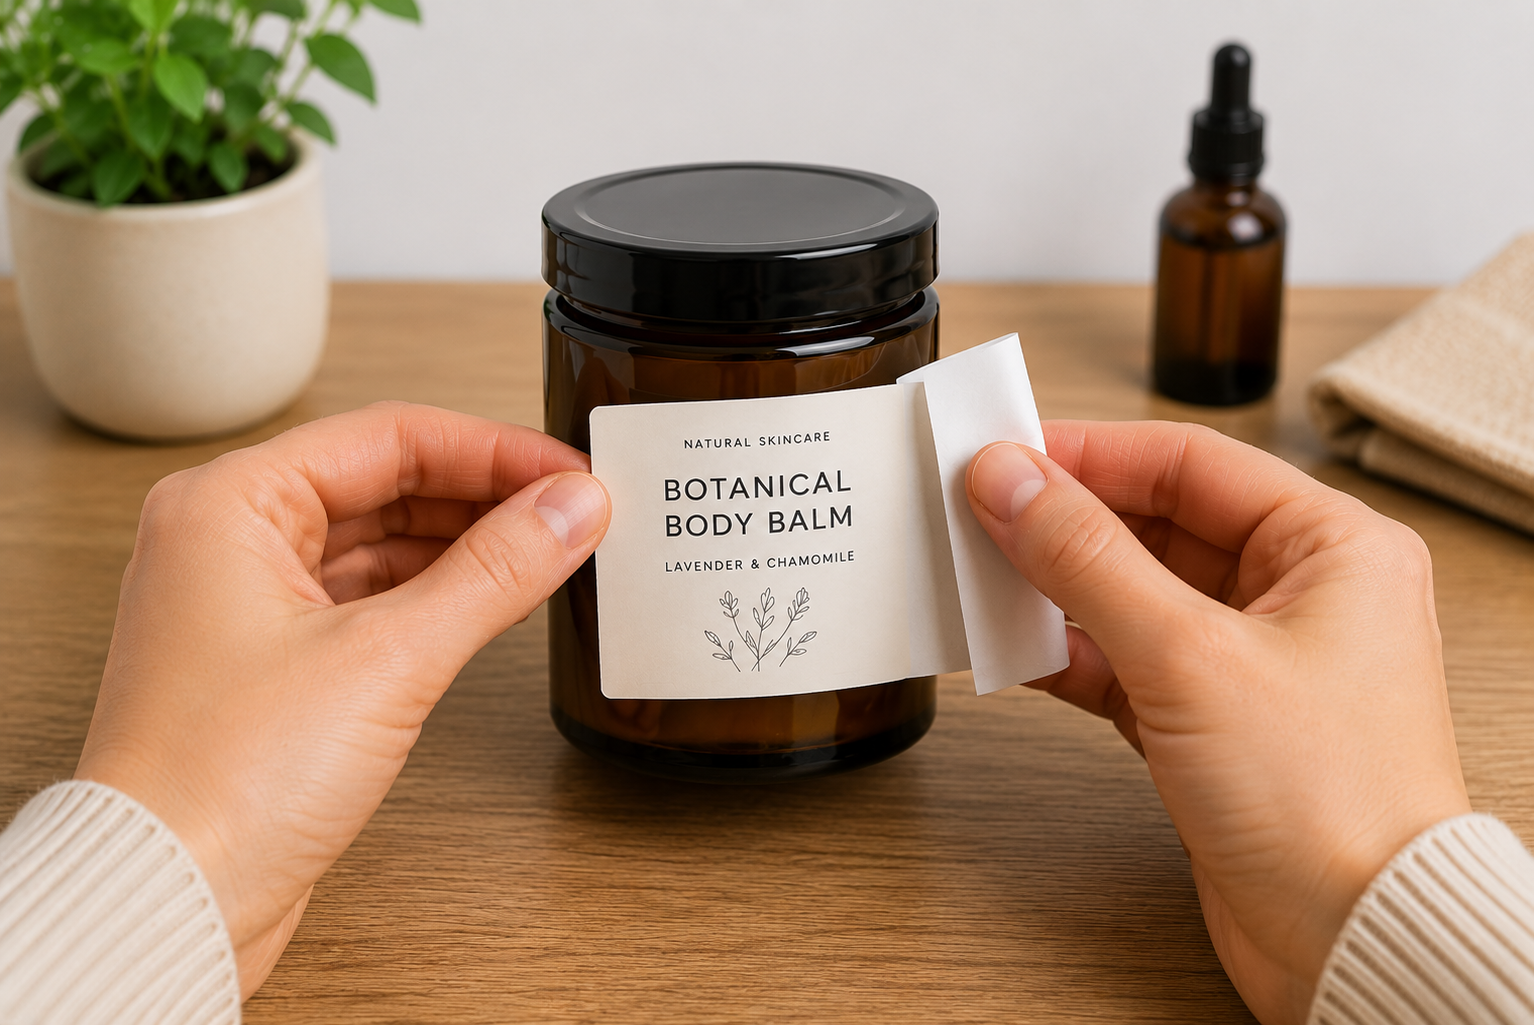
Once your surface is clean and dry, take a moment to line up your label before applying it.
Rather than peeling the entire label from the backing, expose one edge first. Position it where you want the label to sit, check that it’s straight, then gently press that edge into place.
Getting your position right from the start will help you avoid having to peel the label back and reapply it later.
Step 3: Apply Your Label Slowly and With Even Pressure
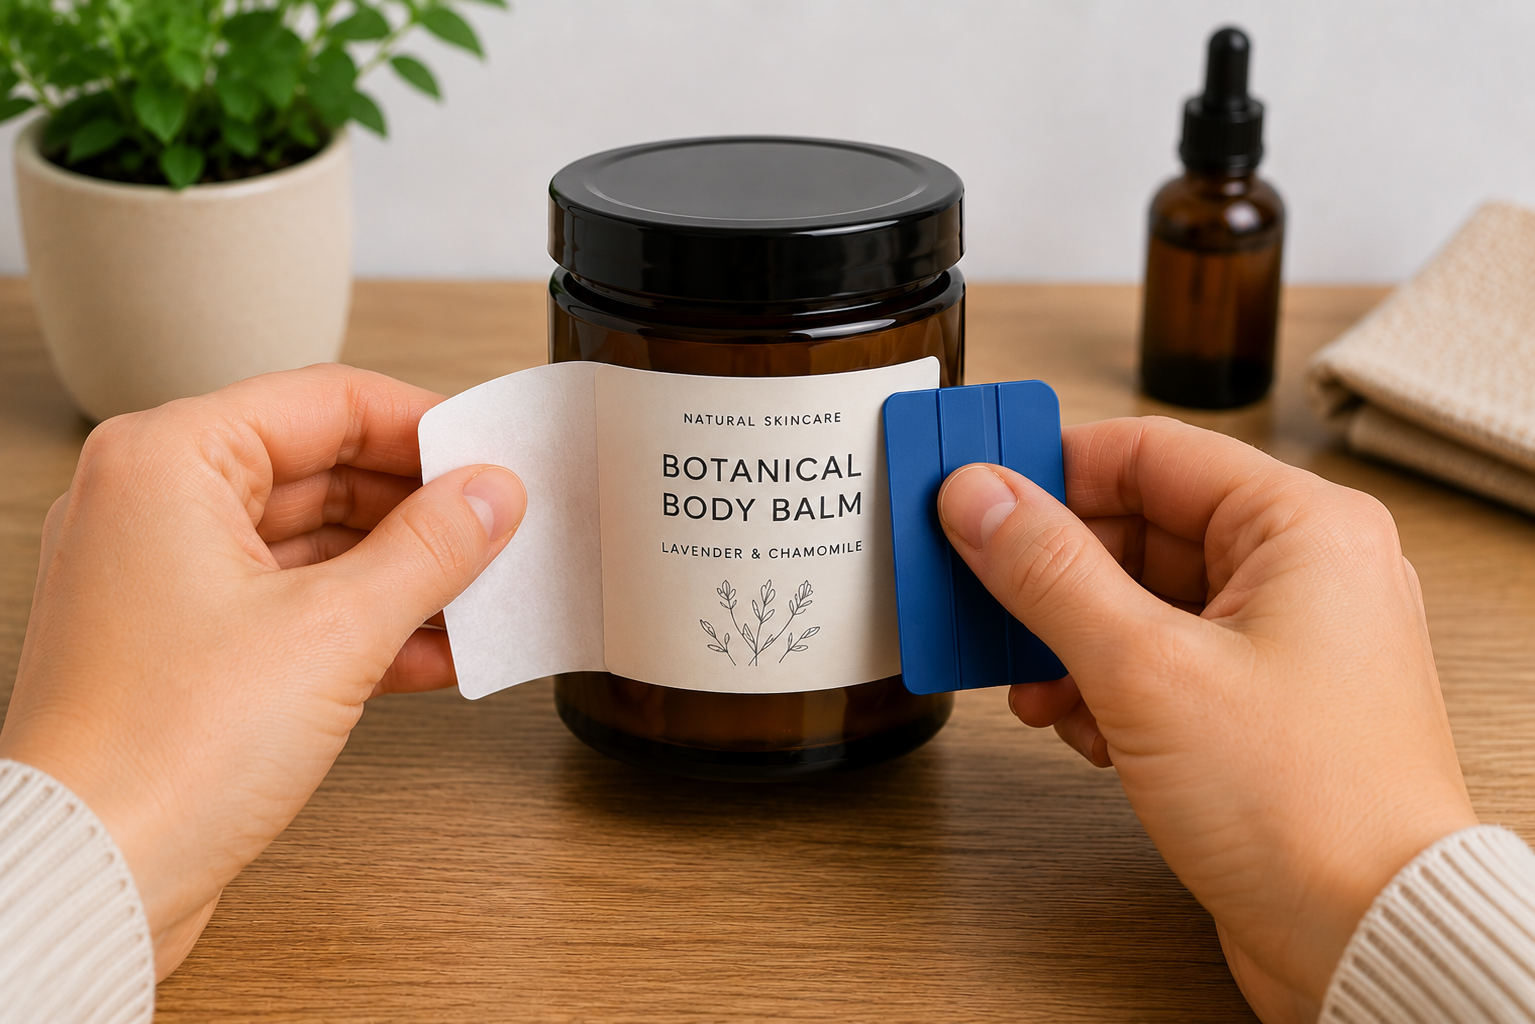
Once the first edge is in place, slowly peel away the backing while smoothing the label onto your product.
Use steady, even pressure as you go to help prevent wrinkles or air bubbles. You can use a flat object, such as a plastic card, to gently smooth the label down as you apply it.
Take your time. A slow, consistent application will give you a much cleaner finish.
Step 4: Pay Extra Attention to the Edges
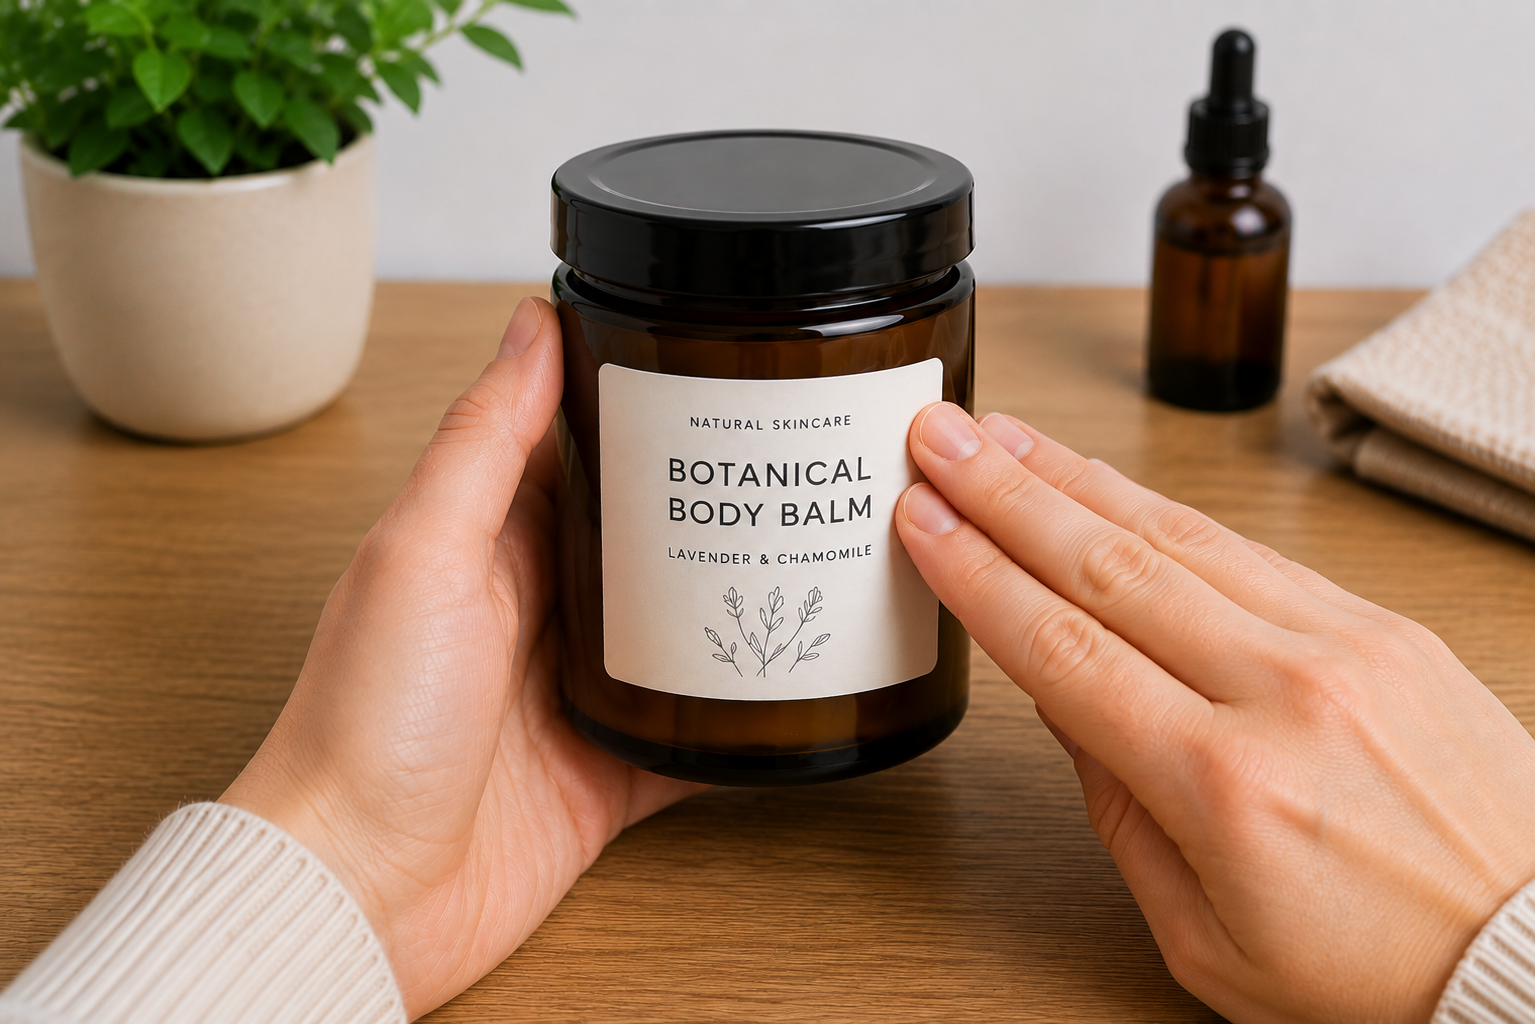
Once your label is in place, run your fingers over the edges and make sure they’re firmly pressed down. Good, even pressure helps the adhesive form a strong bond with the surface.
Try to avoid peeling the label up and repositioning it multiple times. Each time you lift it, you can weaken the adhesive, particularly around the edges, which may lead to lifting or curling later.
Step 5: Give Your Labels Time to Properly Adhere
Your label may feel secure straight away, but the adhesive needs time to form its strongest bond.
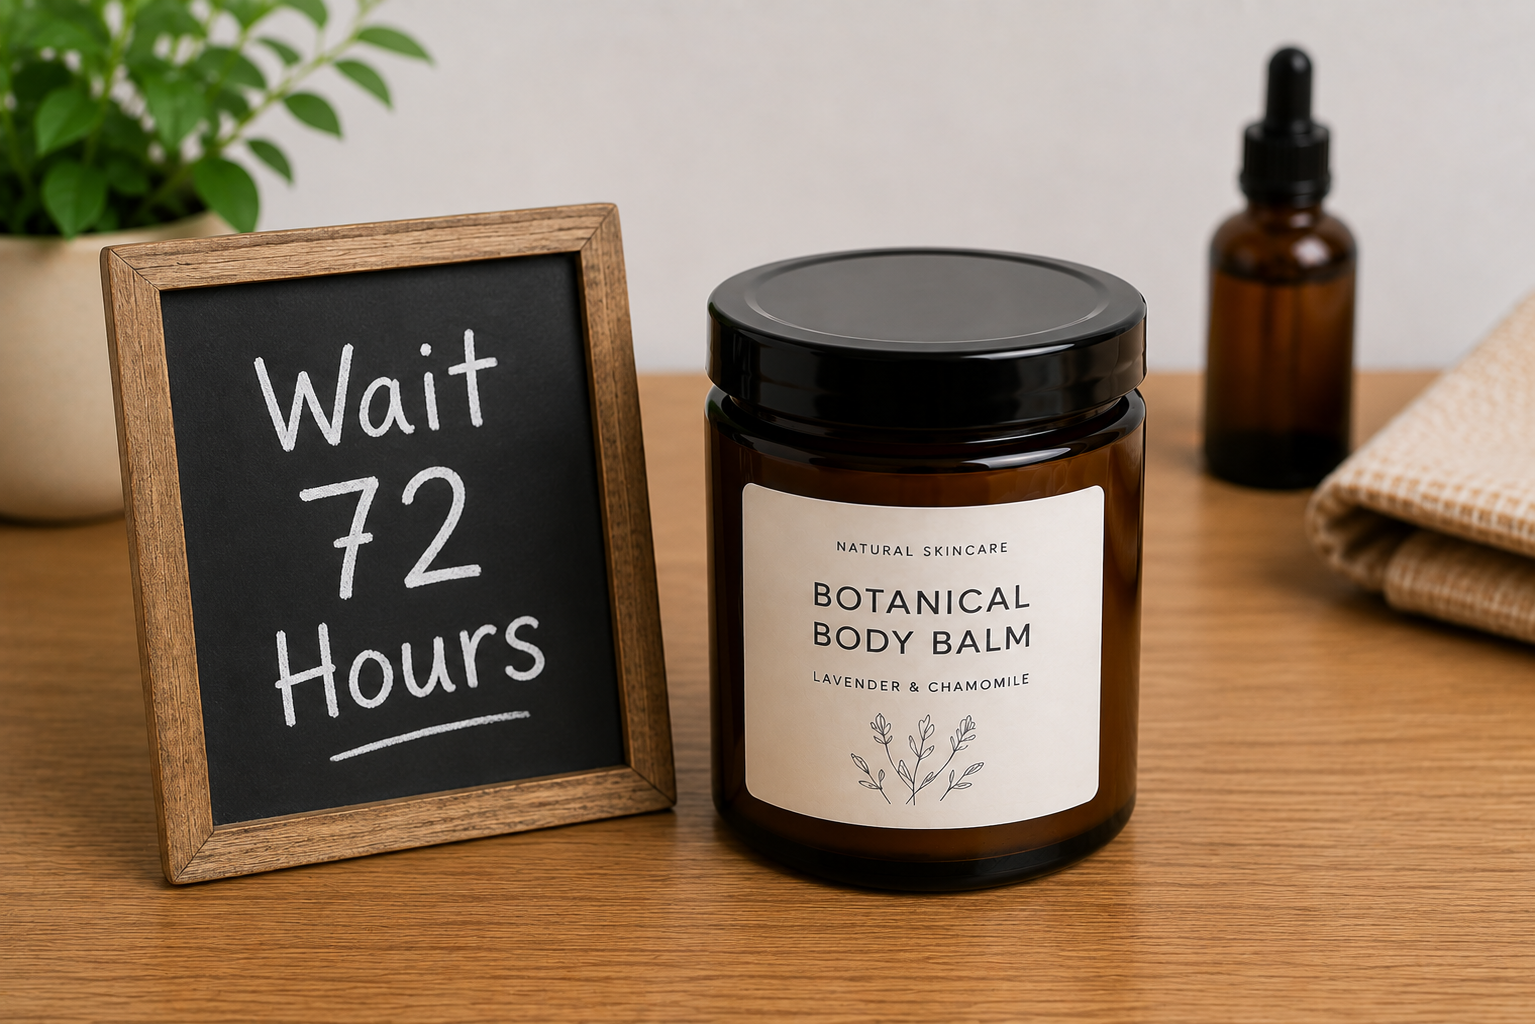
Allow at least 72 hours after application before testing your labels in different conditions. During this time, avoid picking at the edges or testing how easily the label can be removed.
Remember, good surface preparation and firm, even pressure during application will also help your labels adhere properly over time.
Can I Test a Label Before Placing My Full Order?
LabEX doesn’t offer individual sample prints or test runs. By keeping these additional production steps to a minimum, you’re only paying for what you need when you place your label order.
But that doesn’t mean you have to choose your label stock without seeing it first. If you’d like to check how a material looks, feels or sticks to your product, a LabEX Label Sample Kit is the best place to start.
Test Different Stocks and Finishes With a Label Sample Kit
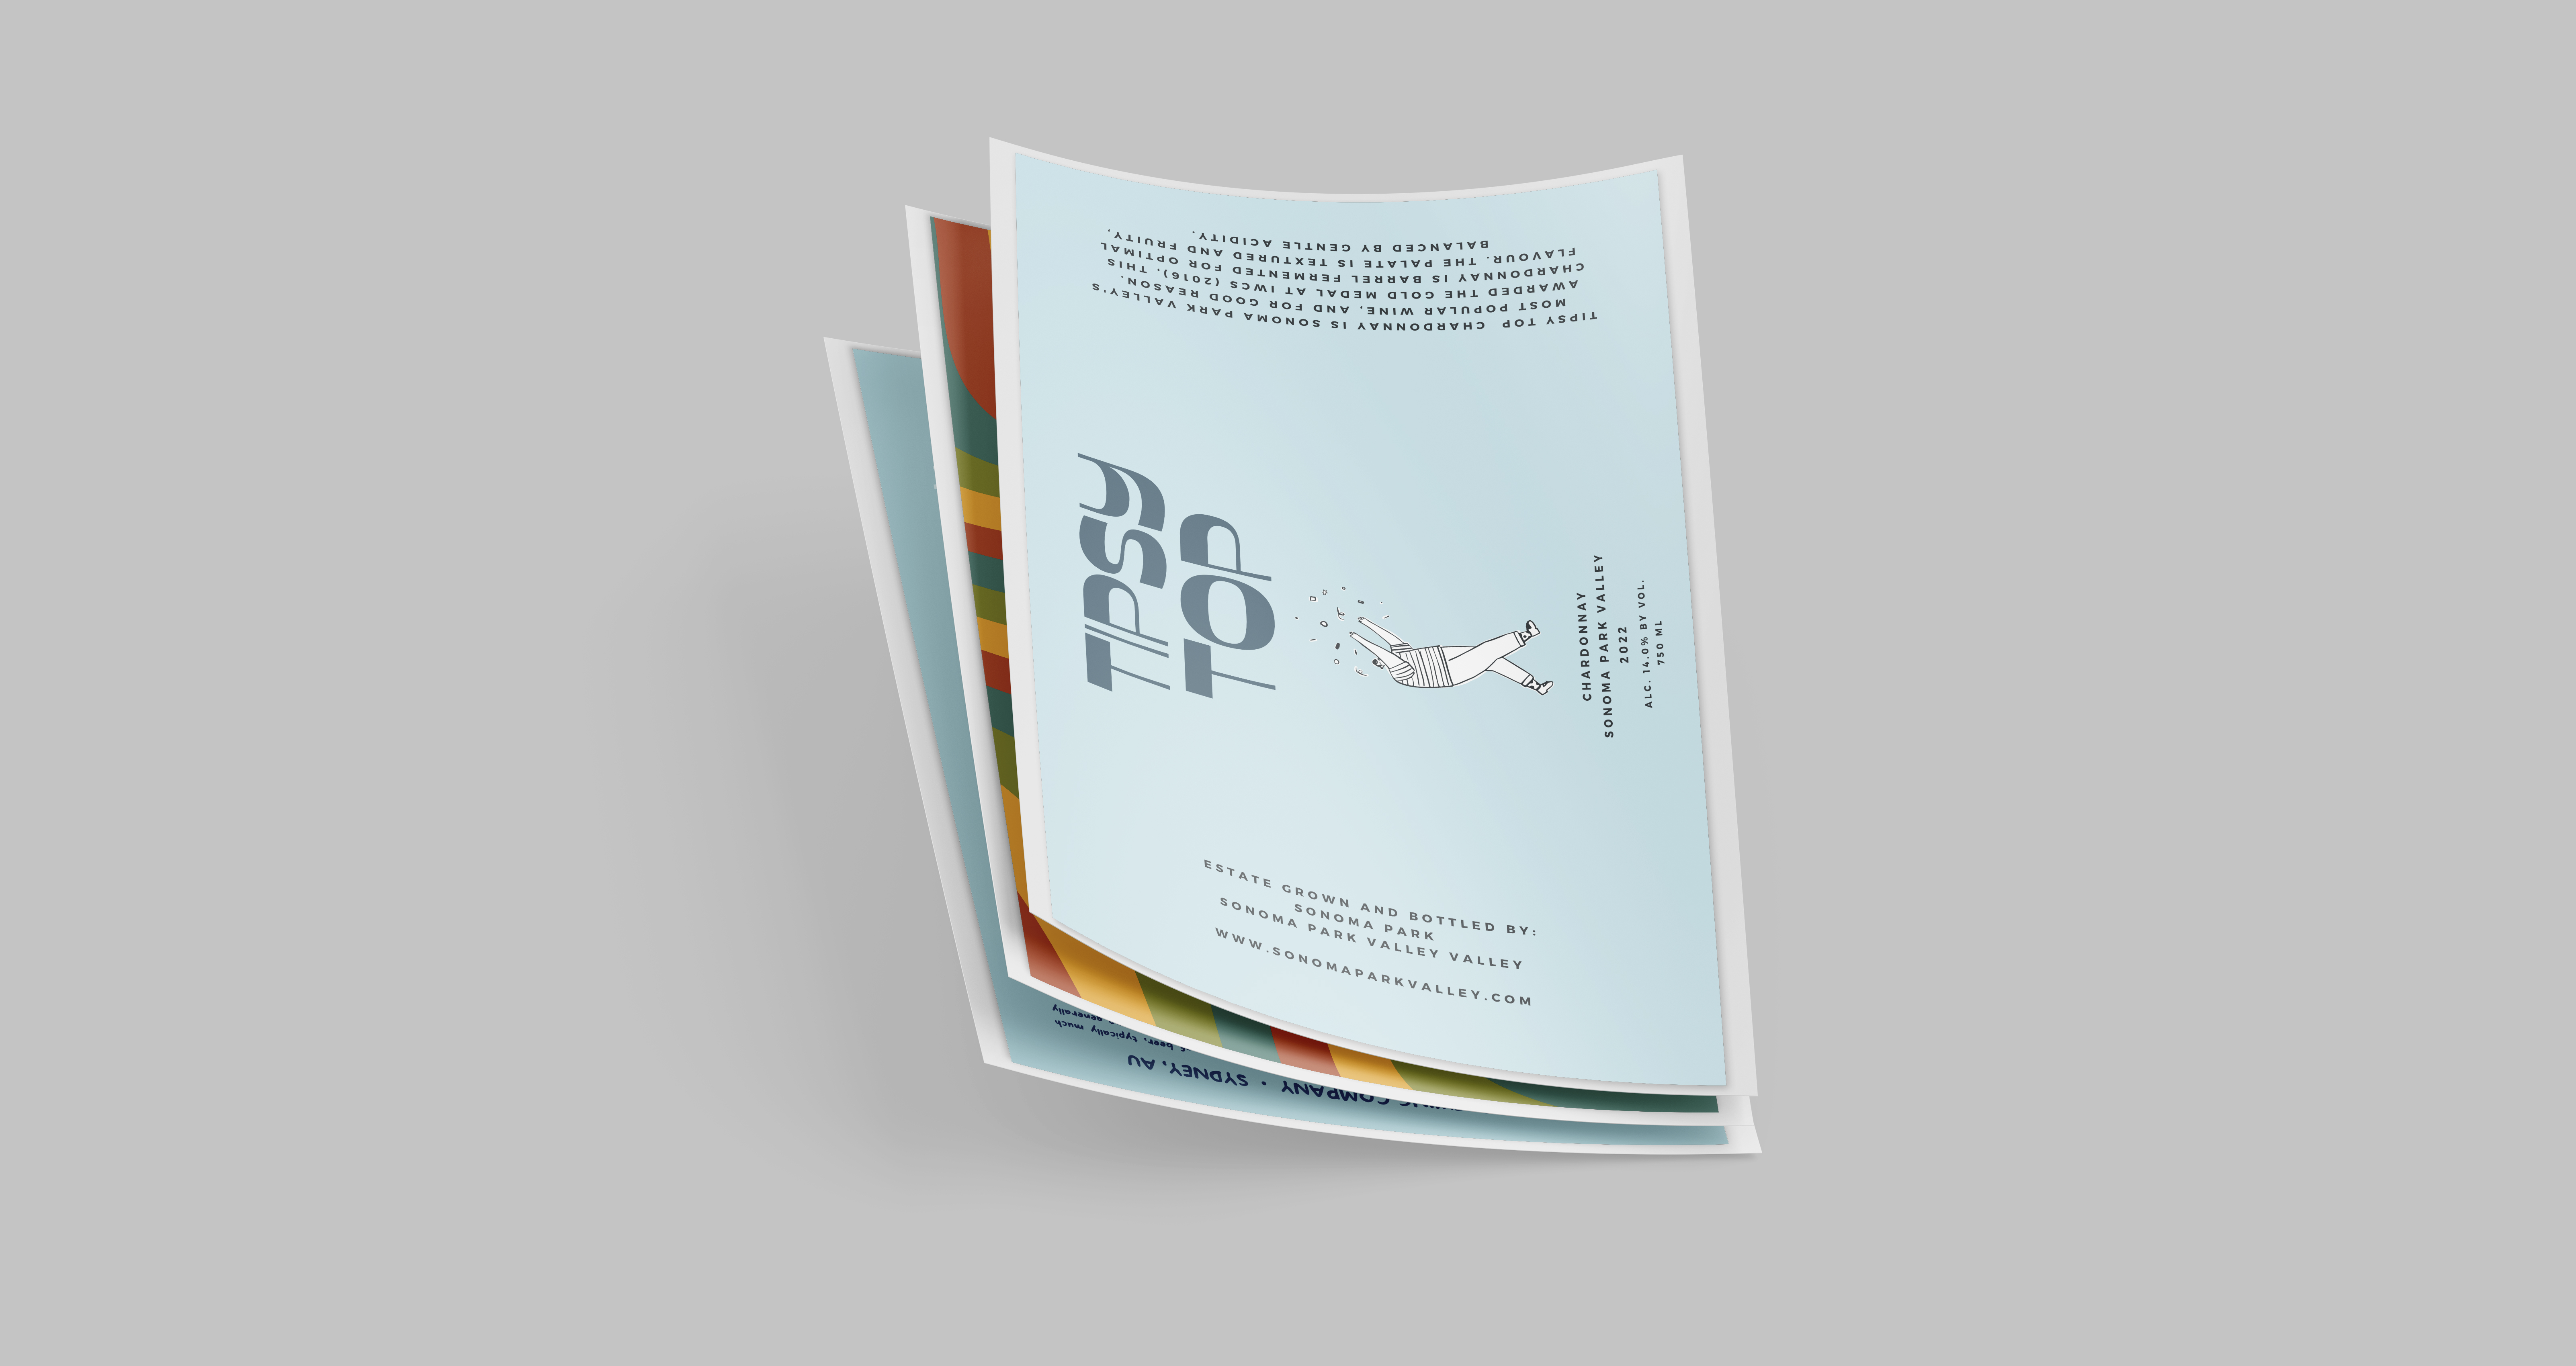
Not sure which label stock or finish will work best for your product? A LabEX Label Sample Kit lets you see and feel the different options before placing your order.
It includes samples of LabEX stocks and finishes, so you can compare how they look and test how well they stick to your packaging.
It’s a simple way to get a better idea of what will work for your product before committing to your final labels.
A Little Preparation Makes a Big Difference
Getting a great result from your labels doesn’t need to be complicated. Start with a clean, dry surface, take your time with positioning and apply firm, even pressure as you go.
Then, give your labels at least 72 hours to properly adhere before putting them to the test.
A few extra minutes during application can make all the difference in getting a smooth, professional finish that lasts.